objects :: cable knit beauties
Monday, January 10, 2011 by {darlene}

I love a warm white sweater this time of year.
Why not have that warm white sweater feeling in your home?

…like the cozy magnificence of this hand knitted slipcover. The price may be steep, but when I picture myself knitting it, I am not sure if she is charging enough. {BiscuitScout}

Who would not love to snuggle up for a nap with a favorite sweater? I love this gorgeous throw pillow. {handmade by anne potter}

What could be cozier than a sweater blanket? Let it snow! {potterybarn}

I like my coffee warm. How about you? I have two little boys… so I never drink my coffee warm. I believe that I may need one of these. {natalya1905}

another gorgeous pillow. This could make any home feel cozier. I love love love the thick pattern. {trickle and company}

and to say that I like this bag would be an understatement. I think it is amazing. And if you don’t think that handbags are home decor, try tossing this cute one onto your sofa, and tell me it doesn’t make your living room look fabulous…
{Pavalu}

I feel warmer now.
{darlene}

love beautiful objects? for more ‘beautiful objects’ posts, click here.

Love Fieldstone Hill? thanks. you rock. Share the love by Following {click Follow in the right sidebar}, Liking on Facebook, or linking here from your blog. I just knew you were awesome!

Labeled: objects | 4 Comments
Design Boards :: Our Boys’ Room
Friday, January 7, 2011 by {darlene}

I am excited to share my Vision Design Board for our boys’ room:

This design board will provide me with the vision that I need to get a beautiful design on a low budget.

Here is how:
By creating a vision for my space, I can begin to prioritize and get creative with my purchases and projects..

1. First of all, I can determine which items in the room I can’t live without and/or “make” the room. For this particular room, I have decided that the orange medallion duvets (5.), the whale pillows (6.), and the planet mobile (13.) are those items. If I wanted to spend a lot more time, and still spend money, I could possibly recreate some of these items, and/or have them made. But after consideration of time and cost, my recommendation would be to purchase these items. They offer big design impact for a reasonable price.

2. Secondly, now that I know what I want, I can begin looking for copycat items that give me the same look for less money. The sheets (3.), The coverlet (4.), The blinds (12.), The wall map (10.), and possibly even the rug (1.) and pillows (2., 14.), are of a basic enough design that I can take my time on a web search that could turn up many comparable products. I assist my clients in how to approach these searches.

3. I can begin planning for DIY projects that will save me significant money, and still give me a designer look. For example, for this particular room, I am scouring Craigslist to find matching twin beds that I can paint in a deep navy. In addition, I have a DIY project for making the pelmet box window treatments. And since pillows are super easy to make or have made, I will keep my eyes open for remnant fabrics that give me a similar look.

For my clients, I provide Vision Design Boards, similar to this one. In addition, I provide written guidance, DIY projects, a resource guide with all the details you need for purchases, and further detailed, written, design guidance and tips. All sent to your computer! Now how fun is that? You can get shopping, and changing the look of your space, right away.
For more information on my Online Design Services, click here.
The resources for this project {all of my resources can be purchased online or from a major retailer}:
  1. Rug, Dash and Albert
  2. Chevron Pillow, Etsy
  3. Dot sheets, Pottery Barn Teen
  4. Coverlet, Serena and Lily
  5. Duvet, West Elm
  6. Ivano the Whale, Contemori, Etsy
  7. Navy Beds, Land of Nod (plus an optional DIY)
  8. Lack Table, Ikea (plus an optional DIY)
  9. Green lamp, Target
  10. Wall map, Amazon (plus a DIY for the frame)
  11. Window Treatments, (a DIY project)
  12. Wood blinds, Lowe’s
  13. Planet mobile, originally Pottery Barn Kids, now limited availability on ebay
  14. Orange dot pillow, Etsy
  15. Optional Painted floor, (a DIY project)
  16. Not pictured in the Design Board is a square table and chair set that I will use in the opposite corner of the room. I plan on finding a small kitchen table and 4 chairs on Craigslist.
It may interest you to know that my budget for this room is very low! I plan to complete the entire project {minus new mattresses and the blinds}, for under $600, spread out over a few months of shopping. In other words, that translates to less than $47/item.
I would absolutely love, and would be encouraged by, your feedback and comments!
{darlene}
Love Fieldstone Hill? thanks. you rock. Share the love by Following {click Follow in the right sidebar}, Liking on Facebook, or linking here from your blog. I just knew you were awesome!
{linking up to Shabby Nest}

Labeled: design boards, here at Fieldstone Hill | 8 Comments
renovation :: boys’ room floor solution; tutorial
Thursday, January 6, 2011 by {darlene}

checker board painted sub-floor

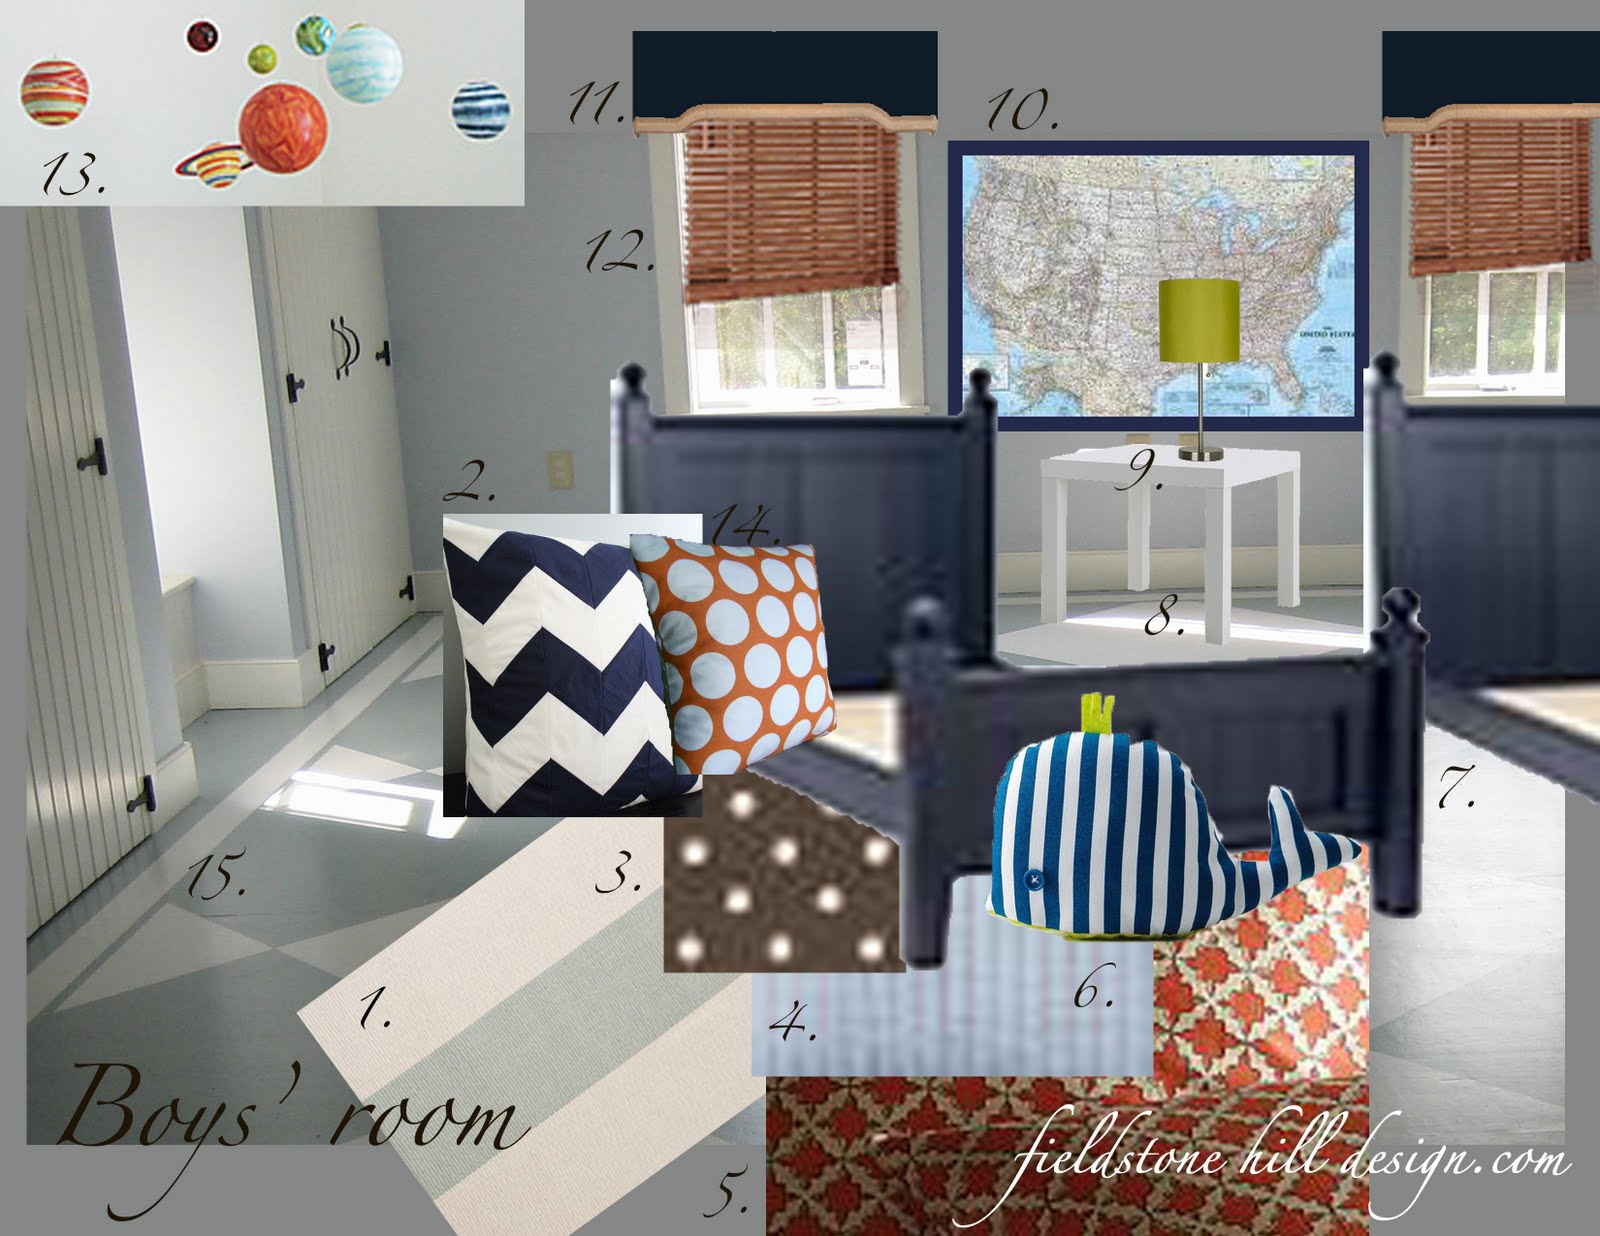
This week I am continuing to post about our future boys’ room. For the beginnings of this project, click here.

Tomorrow, I will be revealing my first Design Board here at Fieldstone Hill, which includes my vision for our boys’ shared room.

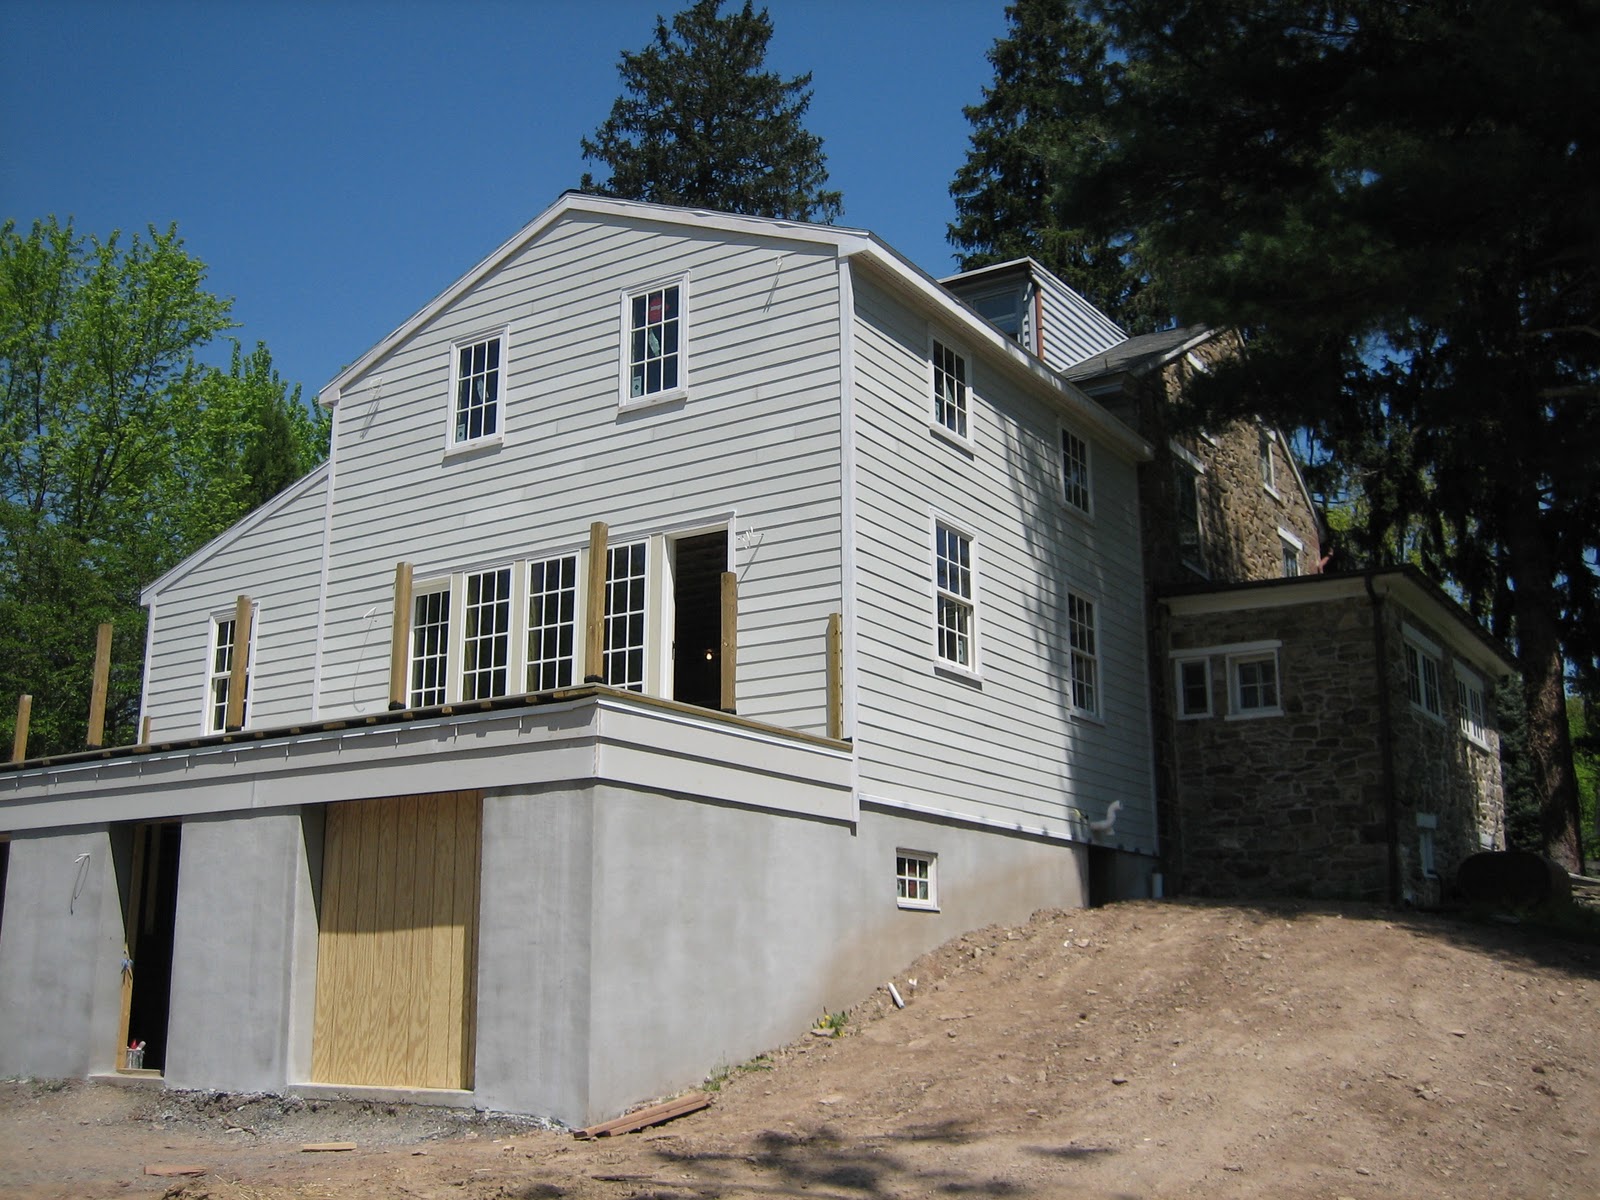
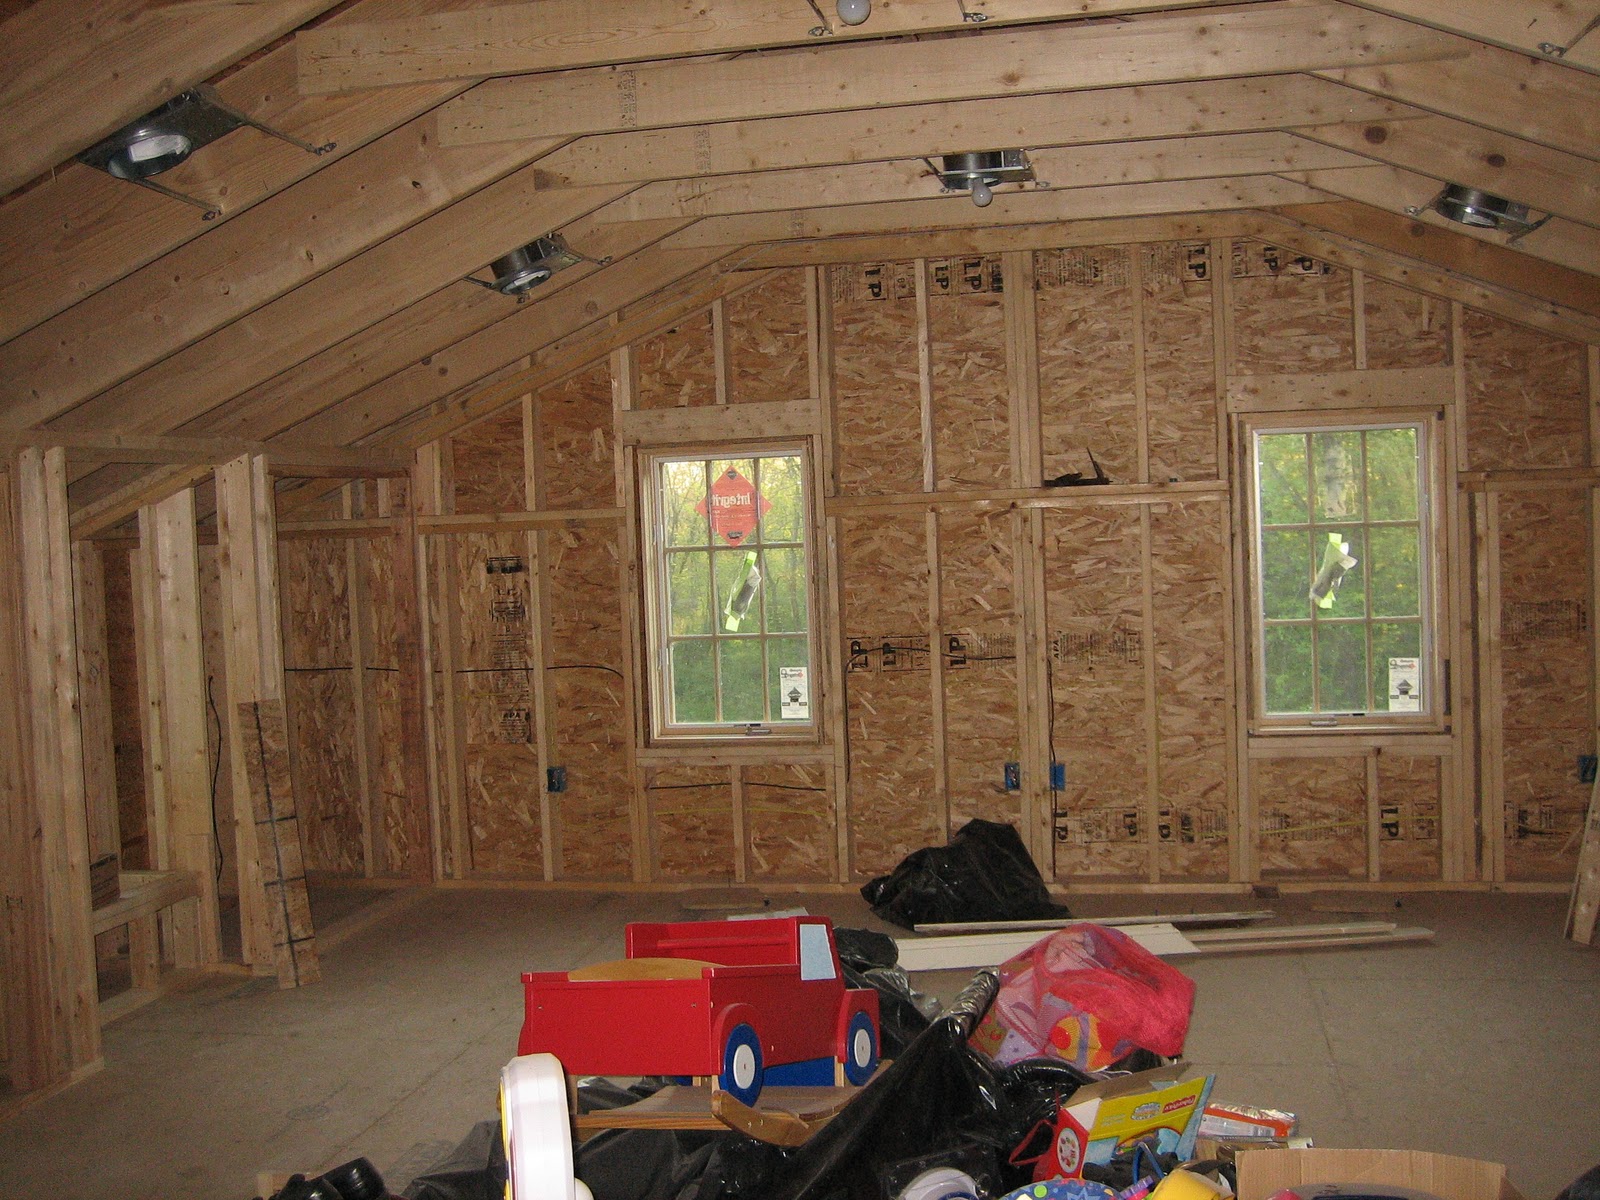
When we decided to finish off the space above the addition, to make way for our own addition, one of our biggest challenges was the flooring. Everyone knows that carpet is one of the cheapest options, but I did not want to go this route.

Reason number one: At the time, we had an older cat. I did not want our house to have that smell. moving on.

Reason number two: I am not really a huge carpet fan. I feel like they only look clean for about 2 years, and the rest of your years are spent pining for the good old days, when your carpet looked good.

Reason number three: Although carpet is the cheapest, it was not cheap enough! Especially with the amount of square footage {approx 23’x 22′}.  Since we were not counting on finishing this room originally, every single finishing step in this room was an extra cost {especially the closets}. So, I had to get creative.

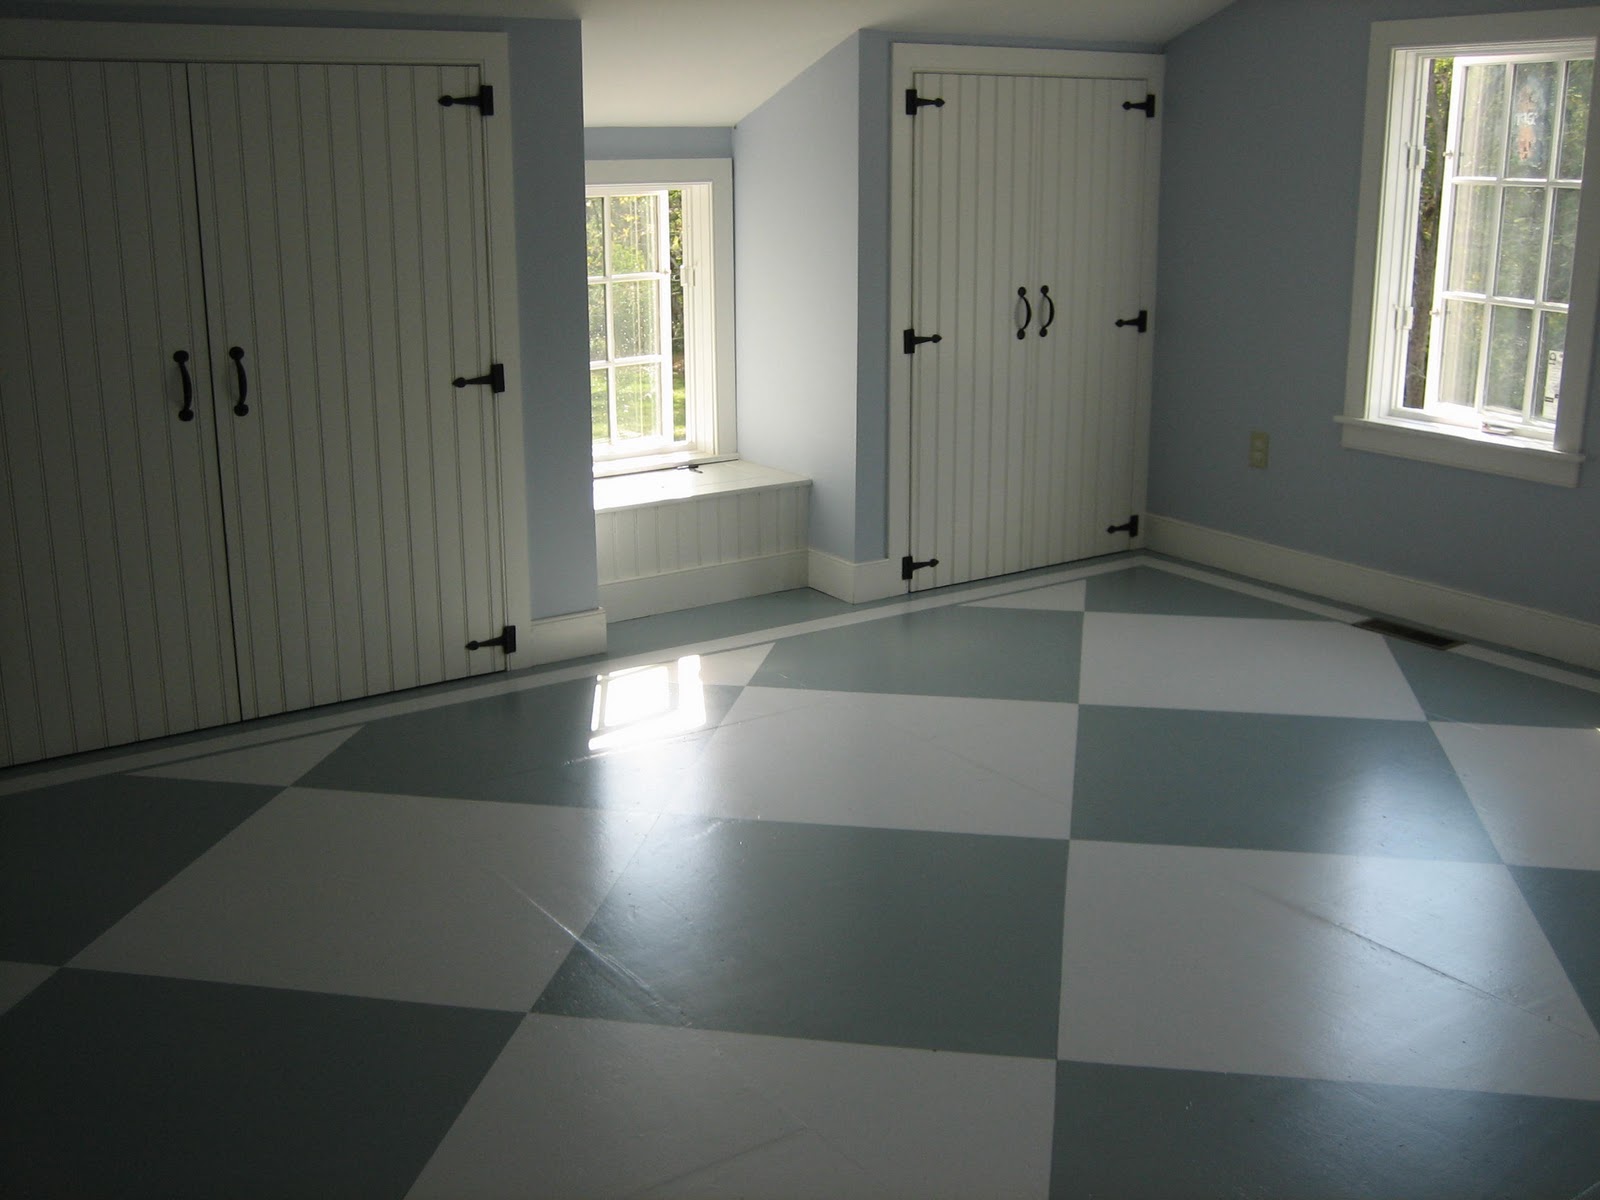
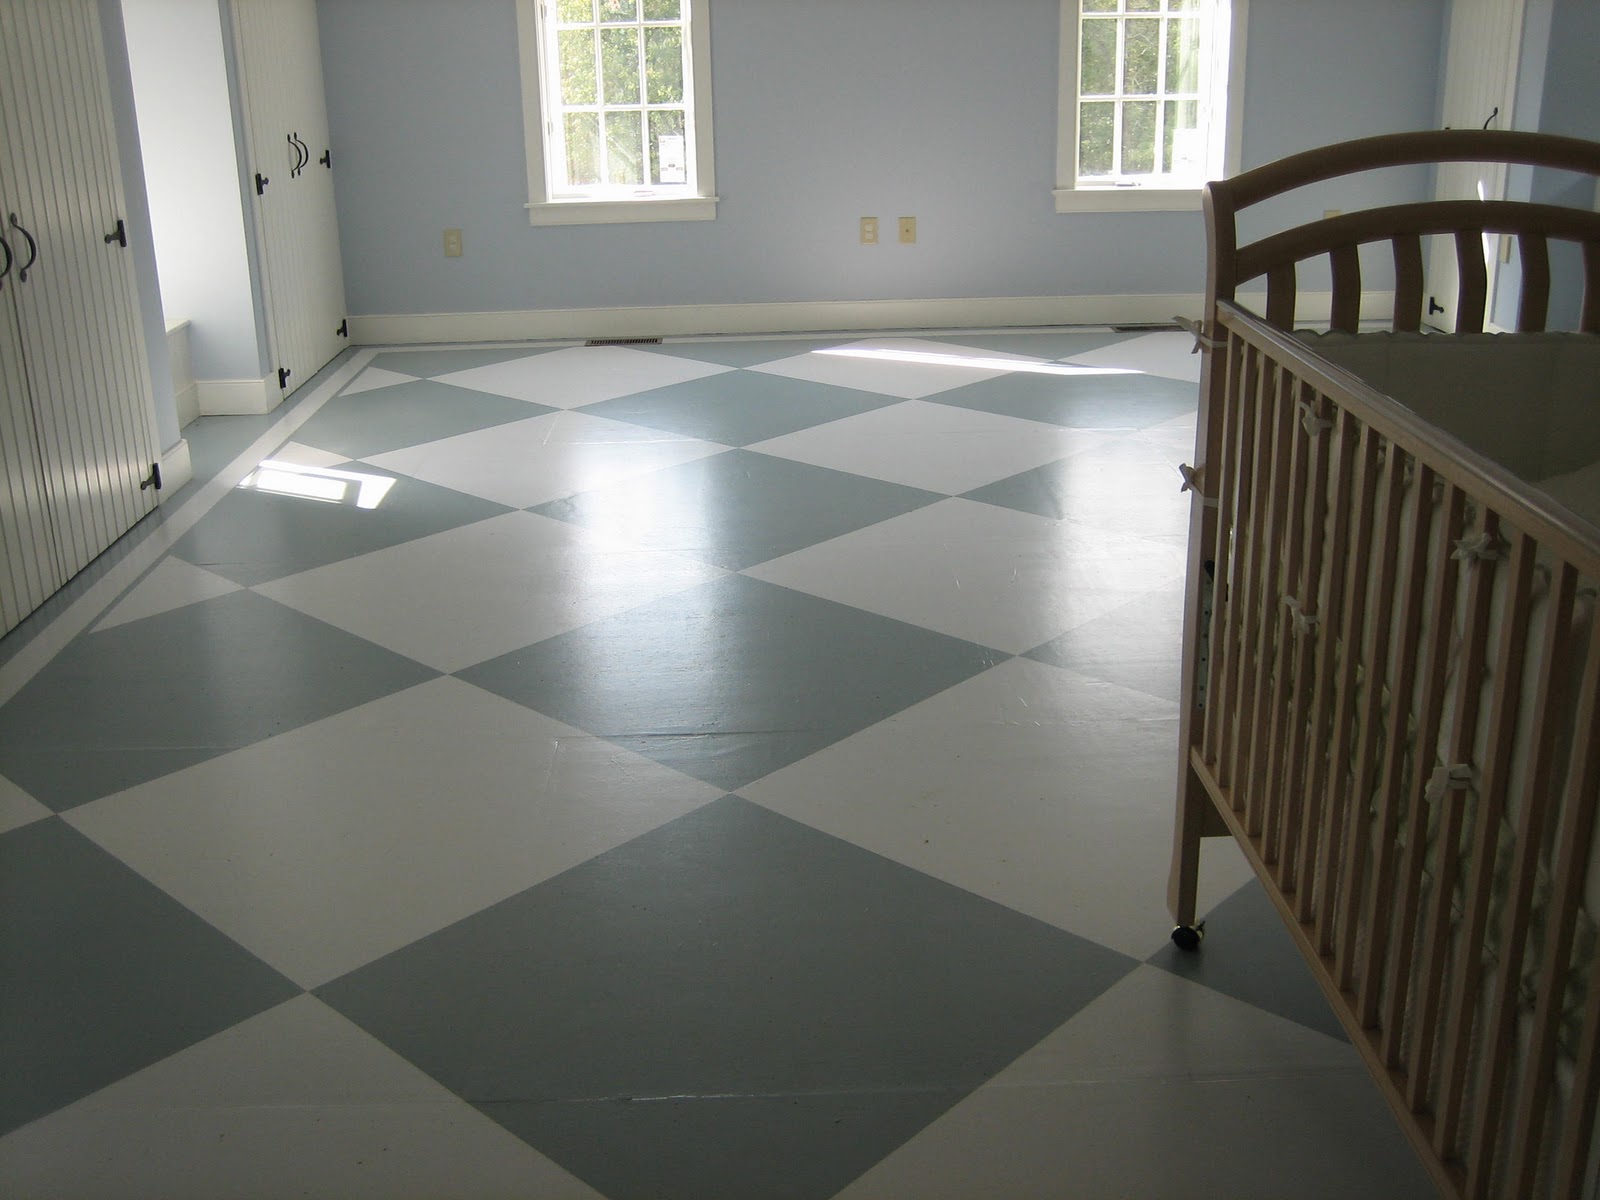
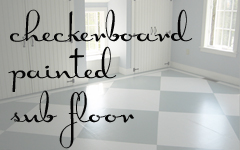
So, I got my creative juices flowing and this is what I came up with:


This is not a ‘hardwood floor.’ In fact, we did this on the subfloor!

Here is how.
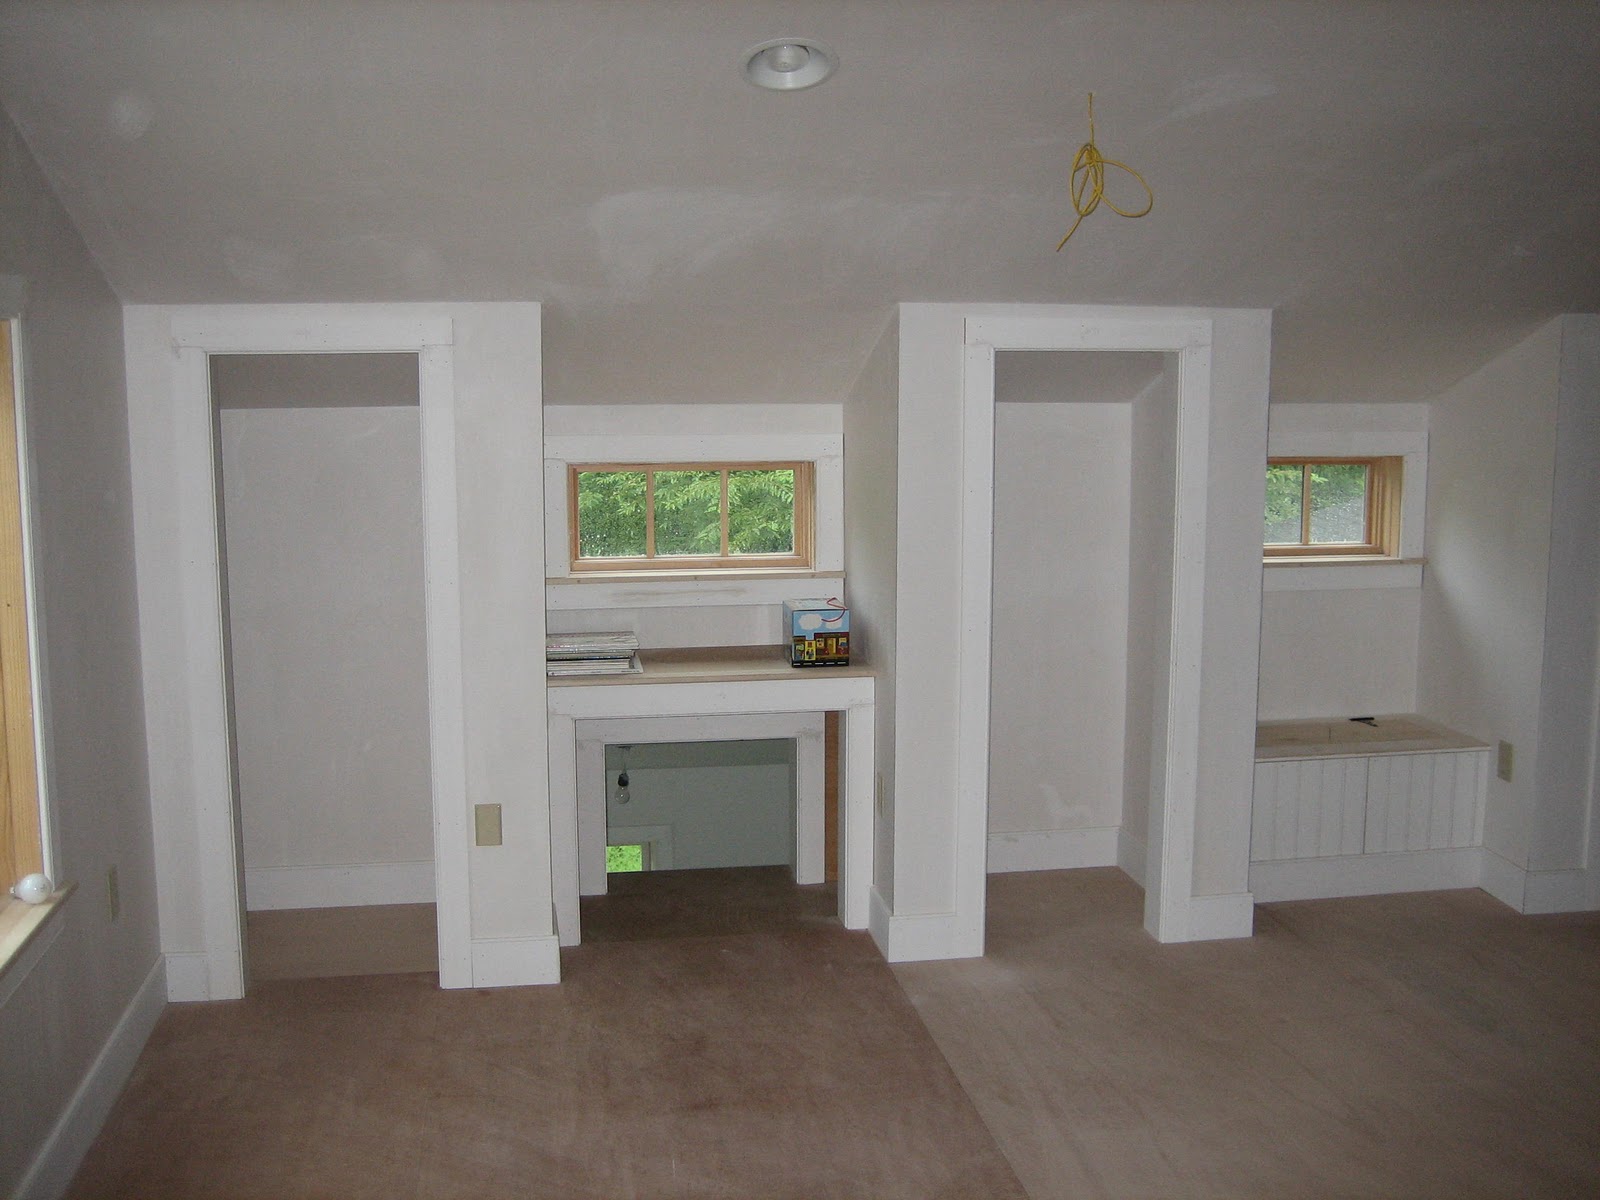
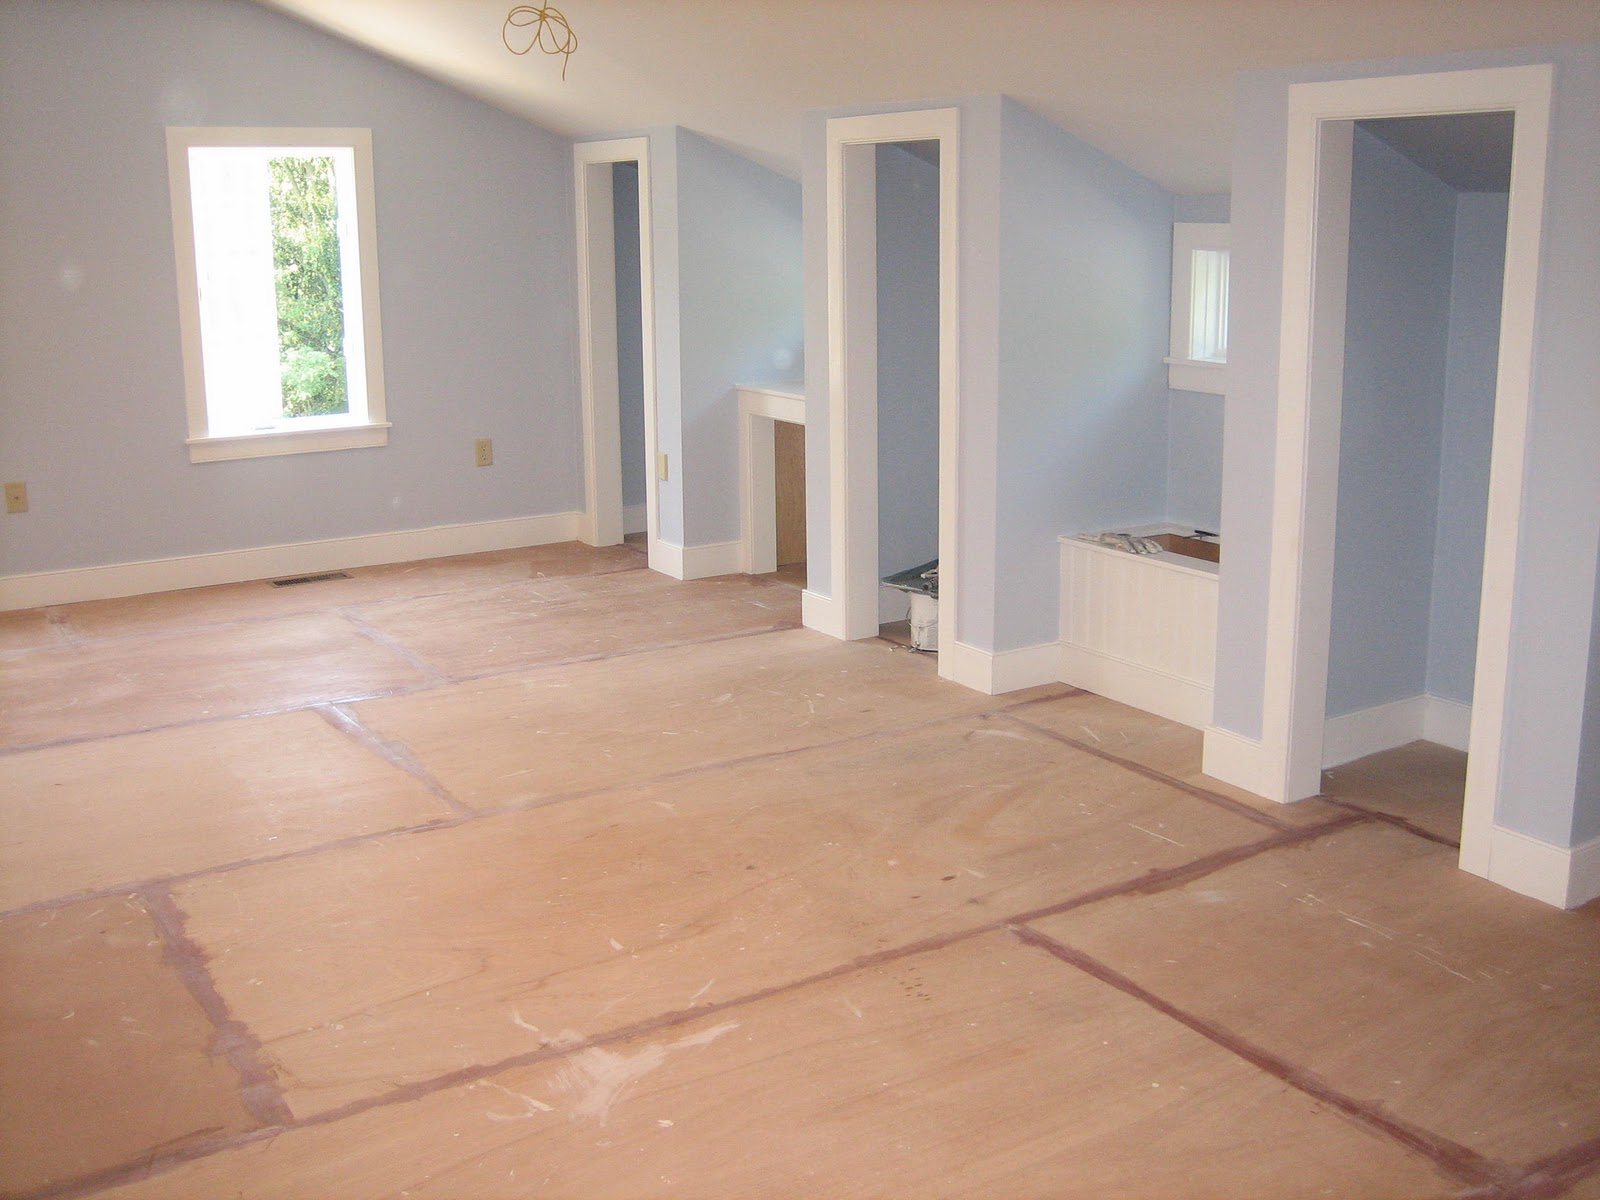
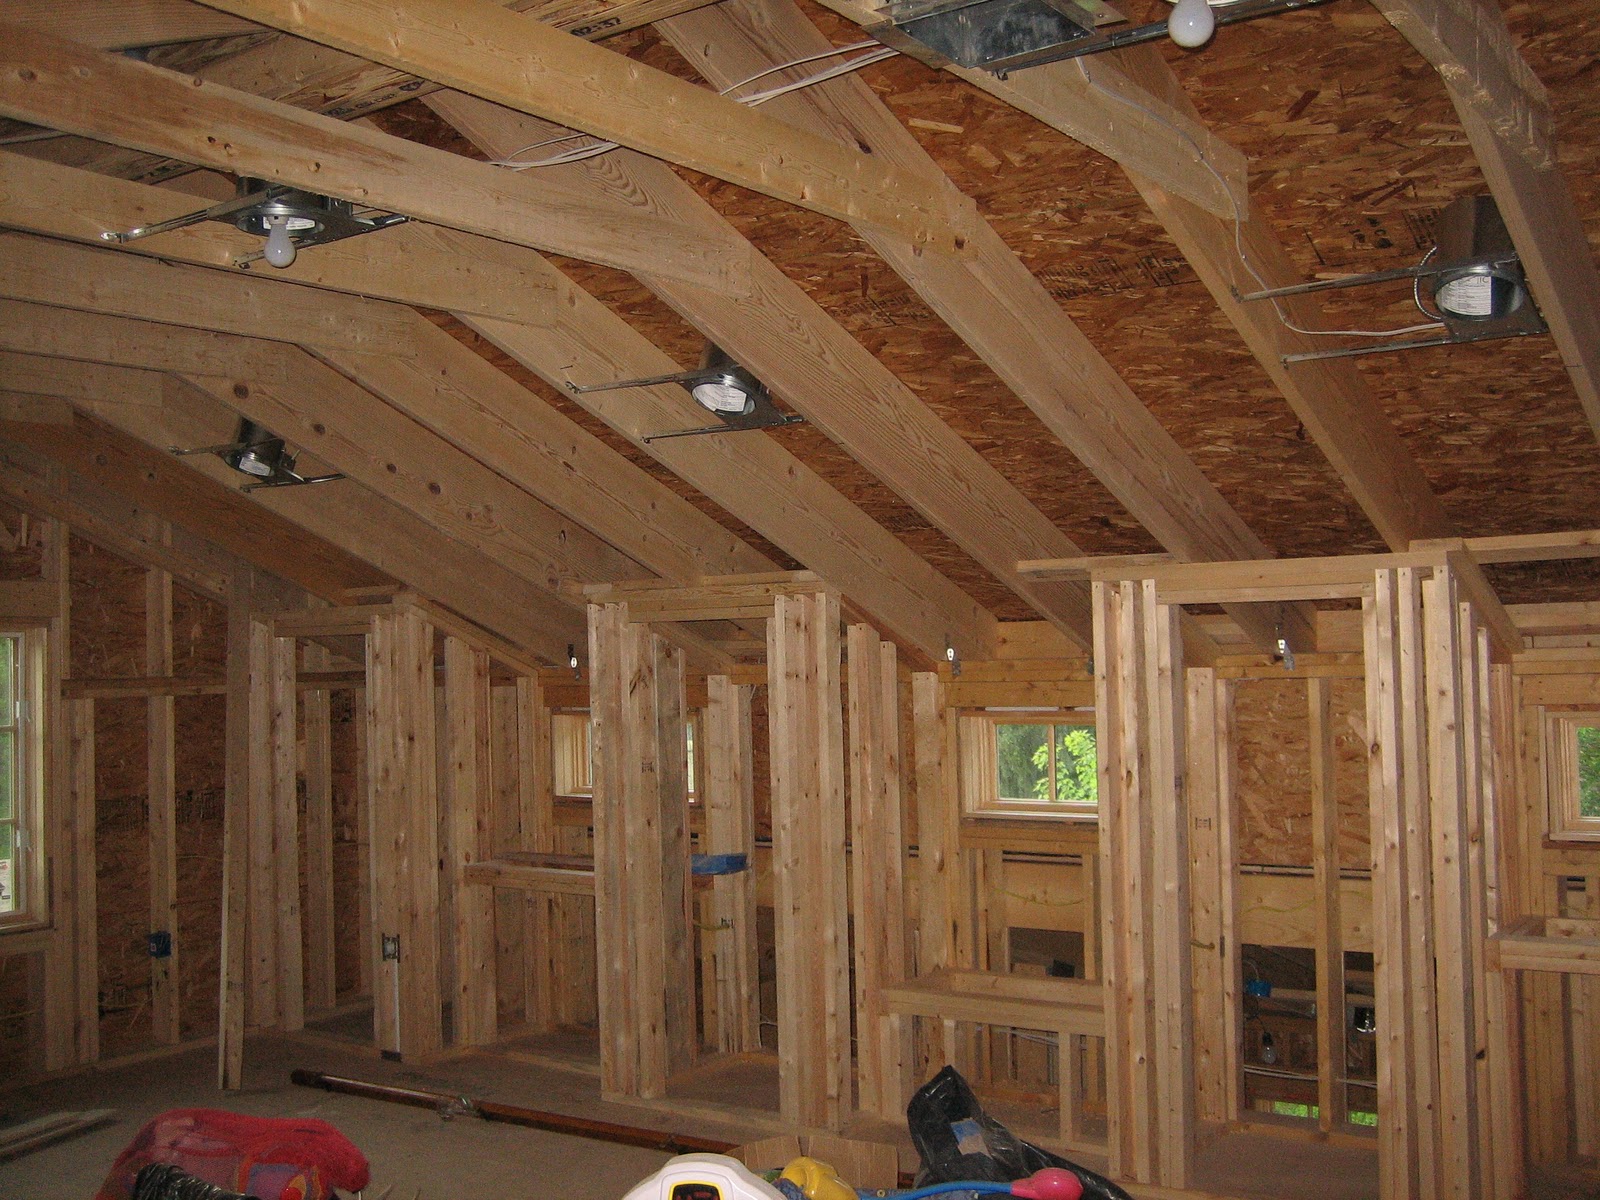
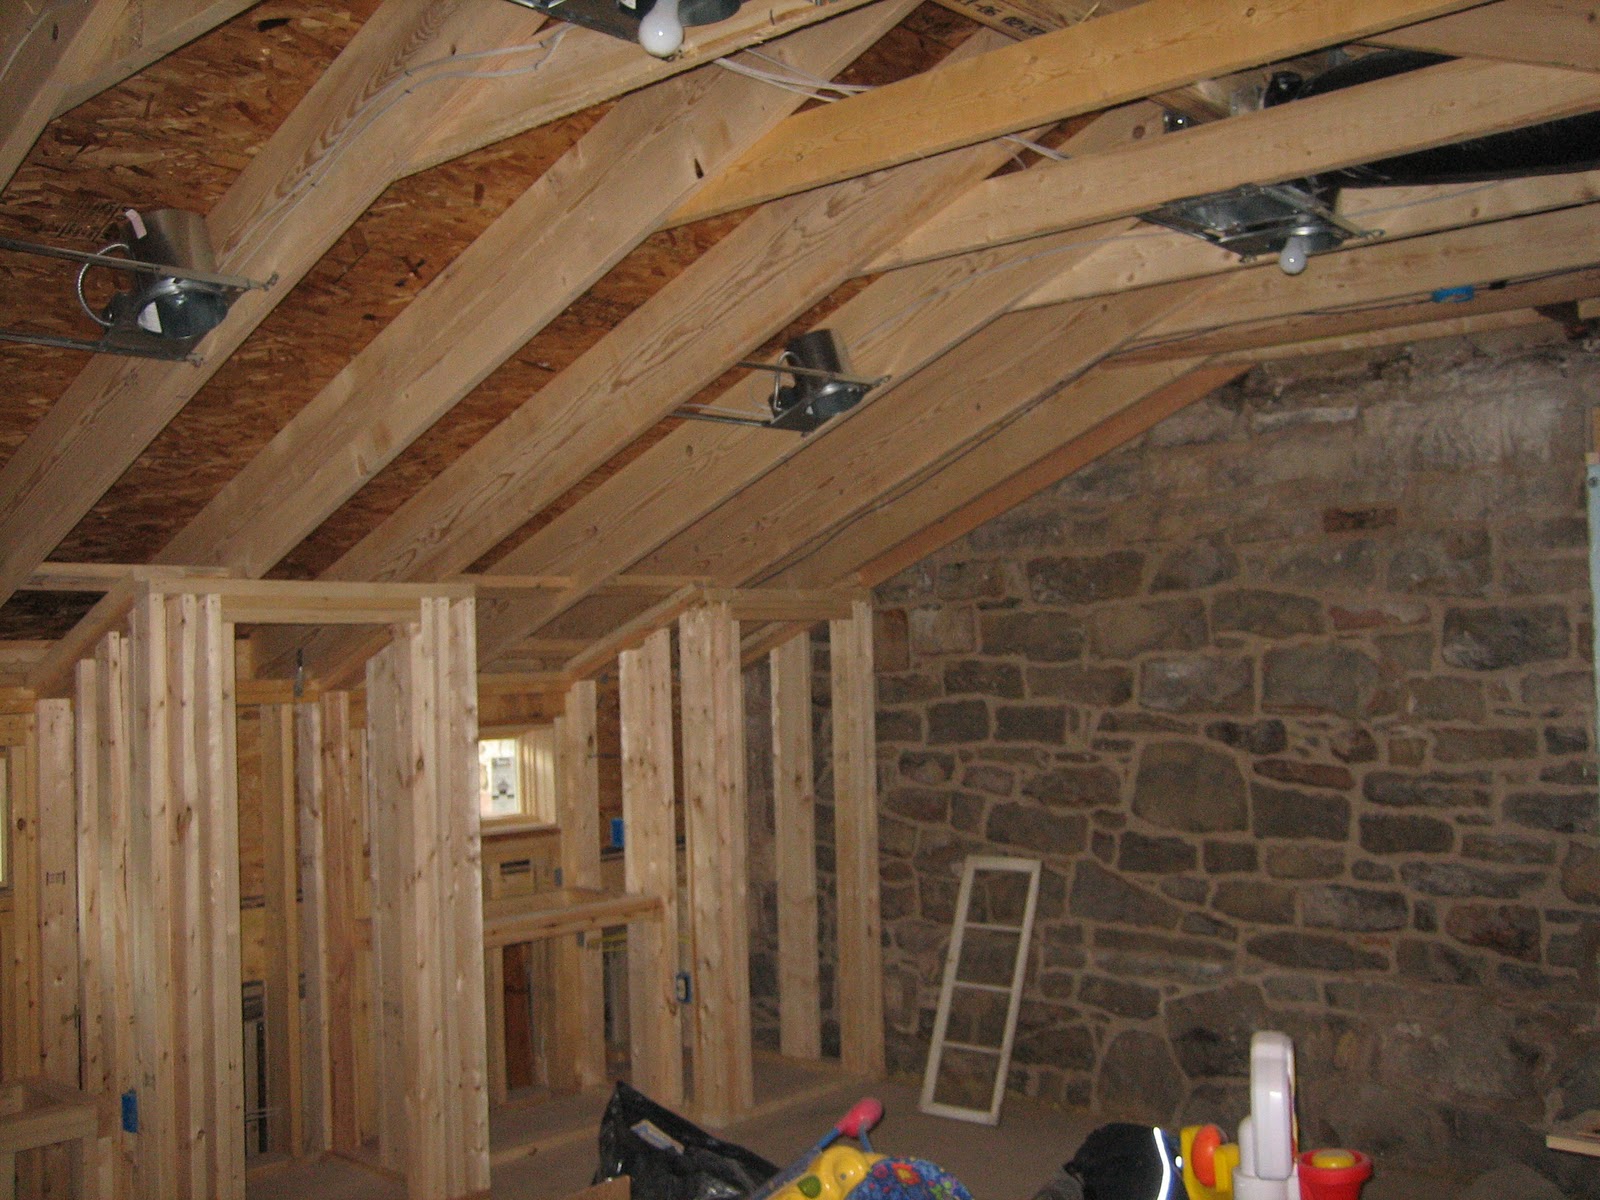
One:  First, our contractor installed best-quality subfloor throughout the room:

Two: Then, our next step was to fill-in and sand down the seams, using a wood caulk:

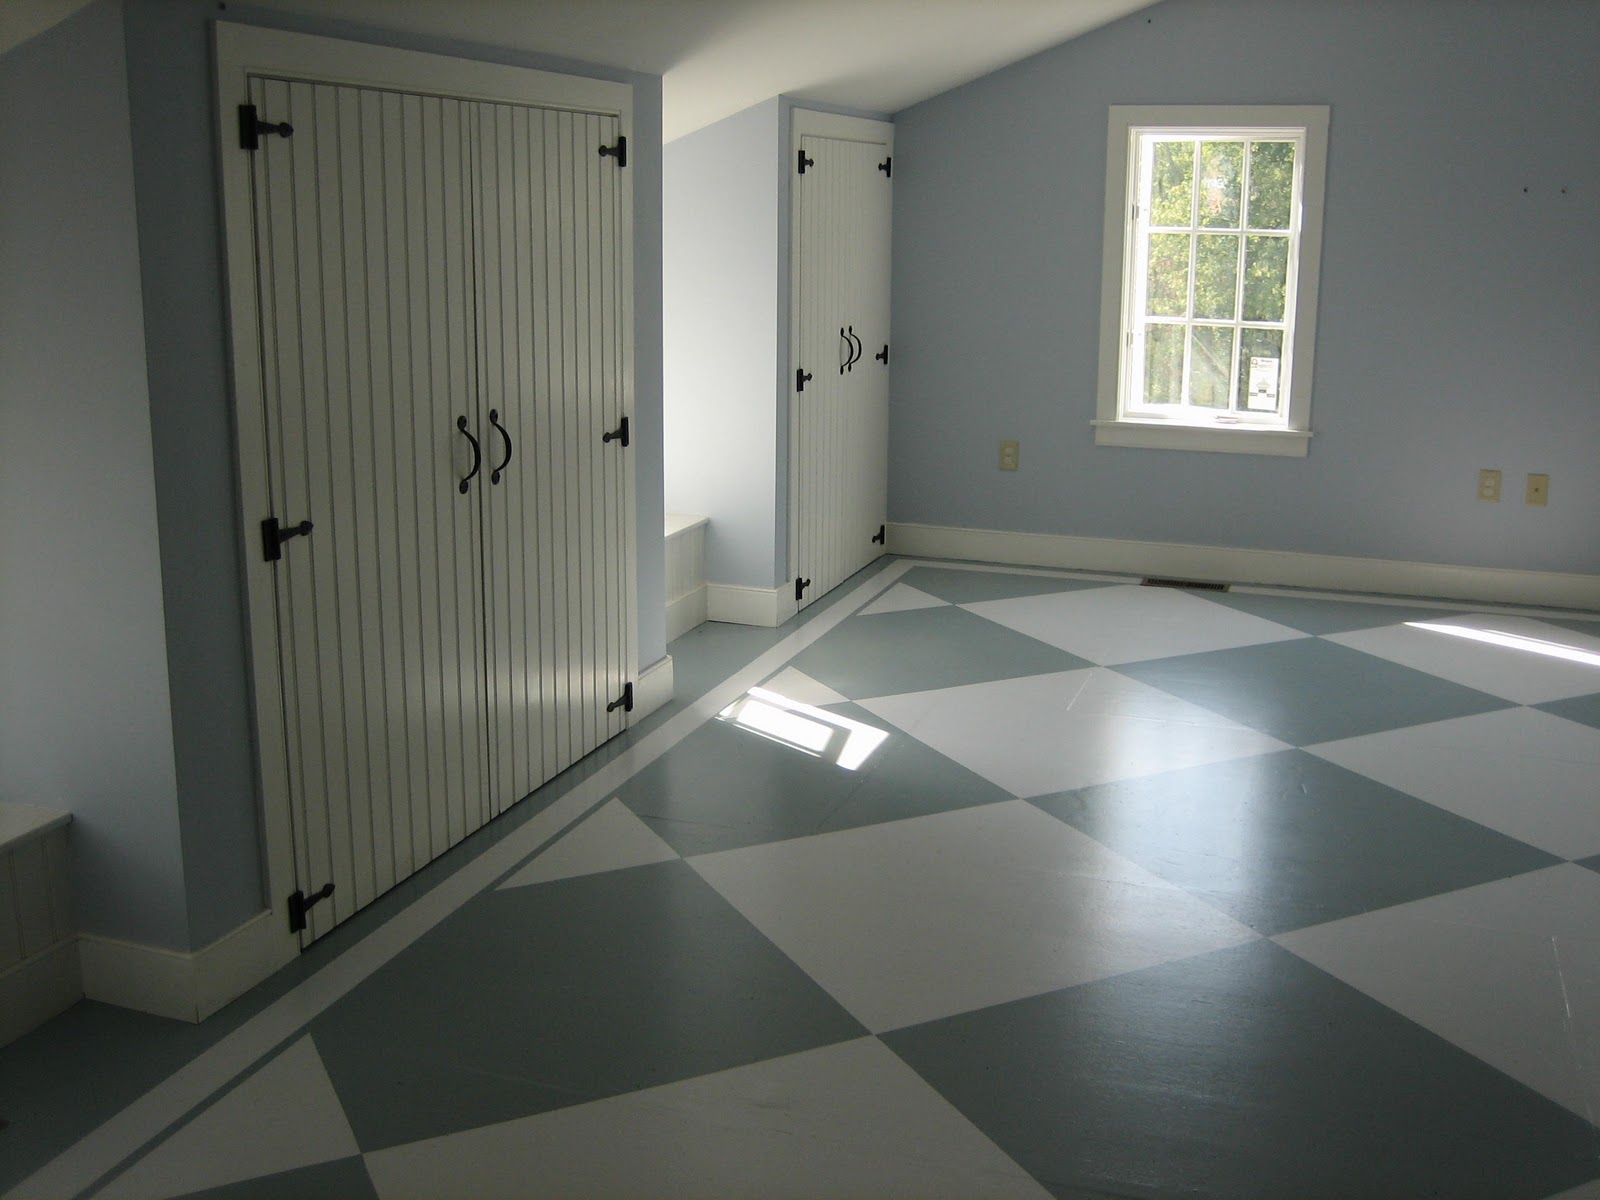
Three: Next step: I drew out a pattern that I wanted. I decided on even 3′ squares, set at the diagonal. Set off by a solid border, 4.25″, around the edge of the room {you can see this in the pics above}.Four: The next step was to trim out the border with painter’s tape, and paint the entire room in your lightest color. For us, that was the soft white. We used exterior floor paint.Five: Next, after the floor has dried for several days, draw out the squares in preparation for painting. We had our painter do this. In order to draw your squares, measure where the center of the room is and make that the center of your middle square. Work out from there, keeping all of your squares the same size. Your pattern will likely get chopped off at the edges. Scroll back up to the pics above… I think it looks fine. Especially when set off by the border. If you want to size your squares to fit your room perfectly, you will need to do a mathematical equation. Can’t help you there 🙂

I chose not to use painters’ tape to draw out the squares, since I was doing the painting and I have a really steady hand. Instead, we used a light pencil mark that we just painted over. However, if you were to tape, you should tape off the outside edge of one color of your darker color squares.

Six: Next step: Paint your dark squares. Again, we used exterior floor paint in a grey blue. Allow that to dry completely.
*tip: You may discover that being flexible, or being a yogi, will come in handy when painting your squares.

Six:Final step: Seal it. Since it will get heavy traffic, seal the floor with a clear, water-based polyurethane.

*tip:  Before installing the doors, we trimmed the bottom of the closet doors a bit higher to accomodate a future floor in the future, if need be.

Seven:Final final step: If you are not 9 months pregnant when doing this {which I also do not recommend}, you will need a martini. But it is so worth the effort!

So there you have it. Please let me know if you {or your painter} attempts this project. I must say, it became an unexpected show stopper in our home, as well as an excellent, super-cheap solution for flooring.

Be sure to stop by tomorrow to see my first Design Board reveal. I am excited!


Love renovations? For more ‘renovation’ posts, click here.

* * *

* * * * *

 Don’t miss a single post from Fieldstone Hill Design! You can have every post delivered directly to your inbox. It is free, and your email is never used for another purpose.

Enter your email address:
Delivered by FeedBurner

If the subscribe box does not work click here to go to the Fieldstone Hill Design page and submit in the right sidebar.

{This post contains affiliate links. When you make a purchase via FHD’s links, you are helping to support this site! Thank you!}

Labeled: before and after, project, renovation | 41 Comments
renovation :: change in plans for our ‘unfinished’ room
Wednesday, January 5, 2011 by {darlene}
The future Boys’ Room.
Remember our Interior Home Improvement Goals? Well, this room is the big one on the list for this Spring. We need to get cracking on this one because… shame… my 3 year old is still in a crib. The poor, adorable, growing critter needs a big-boy-bed. Bad.
Friday {yippeee!!}, I will be sharing my idea board for the boys’ room, and I am very excited about it. But first, I thought you should know where we came from with this room.

A few years ago, this room did not exist.

When we first began our renovation/restoration project on Fieldstone Hill, this room was a part of the plan. However, it was going to be “unfinished.” We added the space because we ultimately knew it was a wise choice, and here is why:
  1. To maintain a historic look, the addition looked much better as a two story addition.
  2. It is ALWAYS cheaper to build up.
  3. and, It is ALWAYS cheaper to add space before you put your roof on. Not after.
  4. It added a lot of bang for our buck on a cramped second floor of our farmhouse.

So, we added this space {the four top windows of the addition}, which was always intended to be a future playroom:

Well, partway through the project {ahem}, baby number 2 was on his way! {tip: I do not recommend this. end of tip.} Sooo, we made the decision to go ahead and finish off the space. Most of the pictures above were taken after we already made that decision. Hence the lighting and the closet framing.

The majority of the cost in deciding to finish off this space came from any finishing of closets {and boy, did we add closets}, any trim and any flooring that we needed to add.
The plastering of the walls and the wiring was also a cost, but not as much, since the plasterers and electricians were already doing the large job of the addition.

It was a wise choice to add the room while we were building. It was an expensive choice to finish it and add a zillion closets.

but, it was still a good change in plans.
and now, this room will serve as an amazing room for two of the cutest boys in tarnation, if I do say so myself.

Stay tuned! Tomorrow I will give you a peek at the finished, unfurnished room. I am getting excited to finally get to work on this space!
{darlene}

Love renovations? For more ‘renovation’ posts, click here.

Love Fieldstone Hill? thanks. you rock. Share the love by Following, Liking on Facebook, or linking here from your blog. I just knew you were awesome!

Related Posts Plugin for WordPress, Blogger...

Labeled: before and after, renovation | 2 Comments